8 Enclosed Seams
The Flat-Felled and French Seams
Enclosed Seams
The French and Flat-Felled Seams fall under an advanced technique category known as ENCLOSED SEAMS. They enclose the the raw edges of the fabric within the seam itself to create a clean finish on both the inside and outside of a garment. This may serve a decorative and/or structural purpose and be dictated by the the fabric and the style of the garment.
Flat-Felled Seams
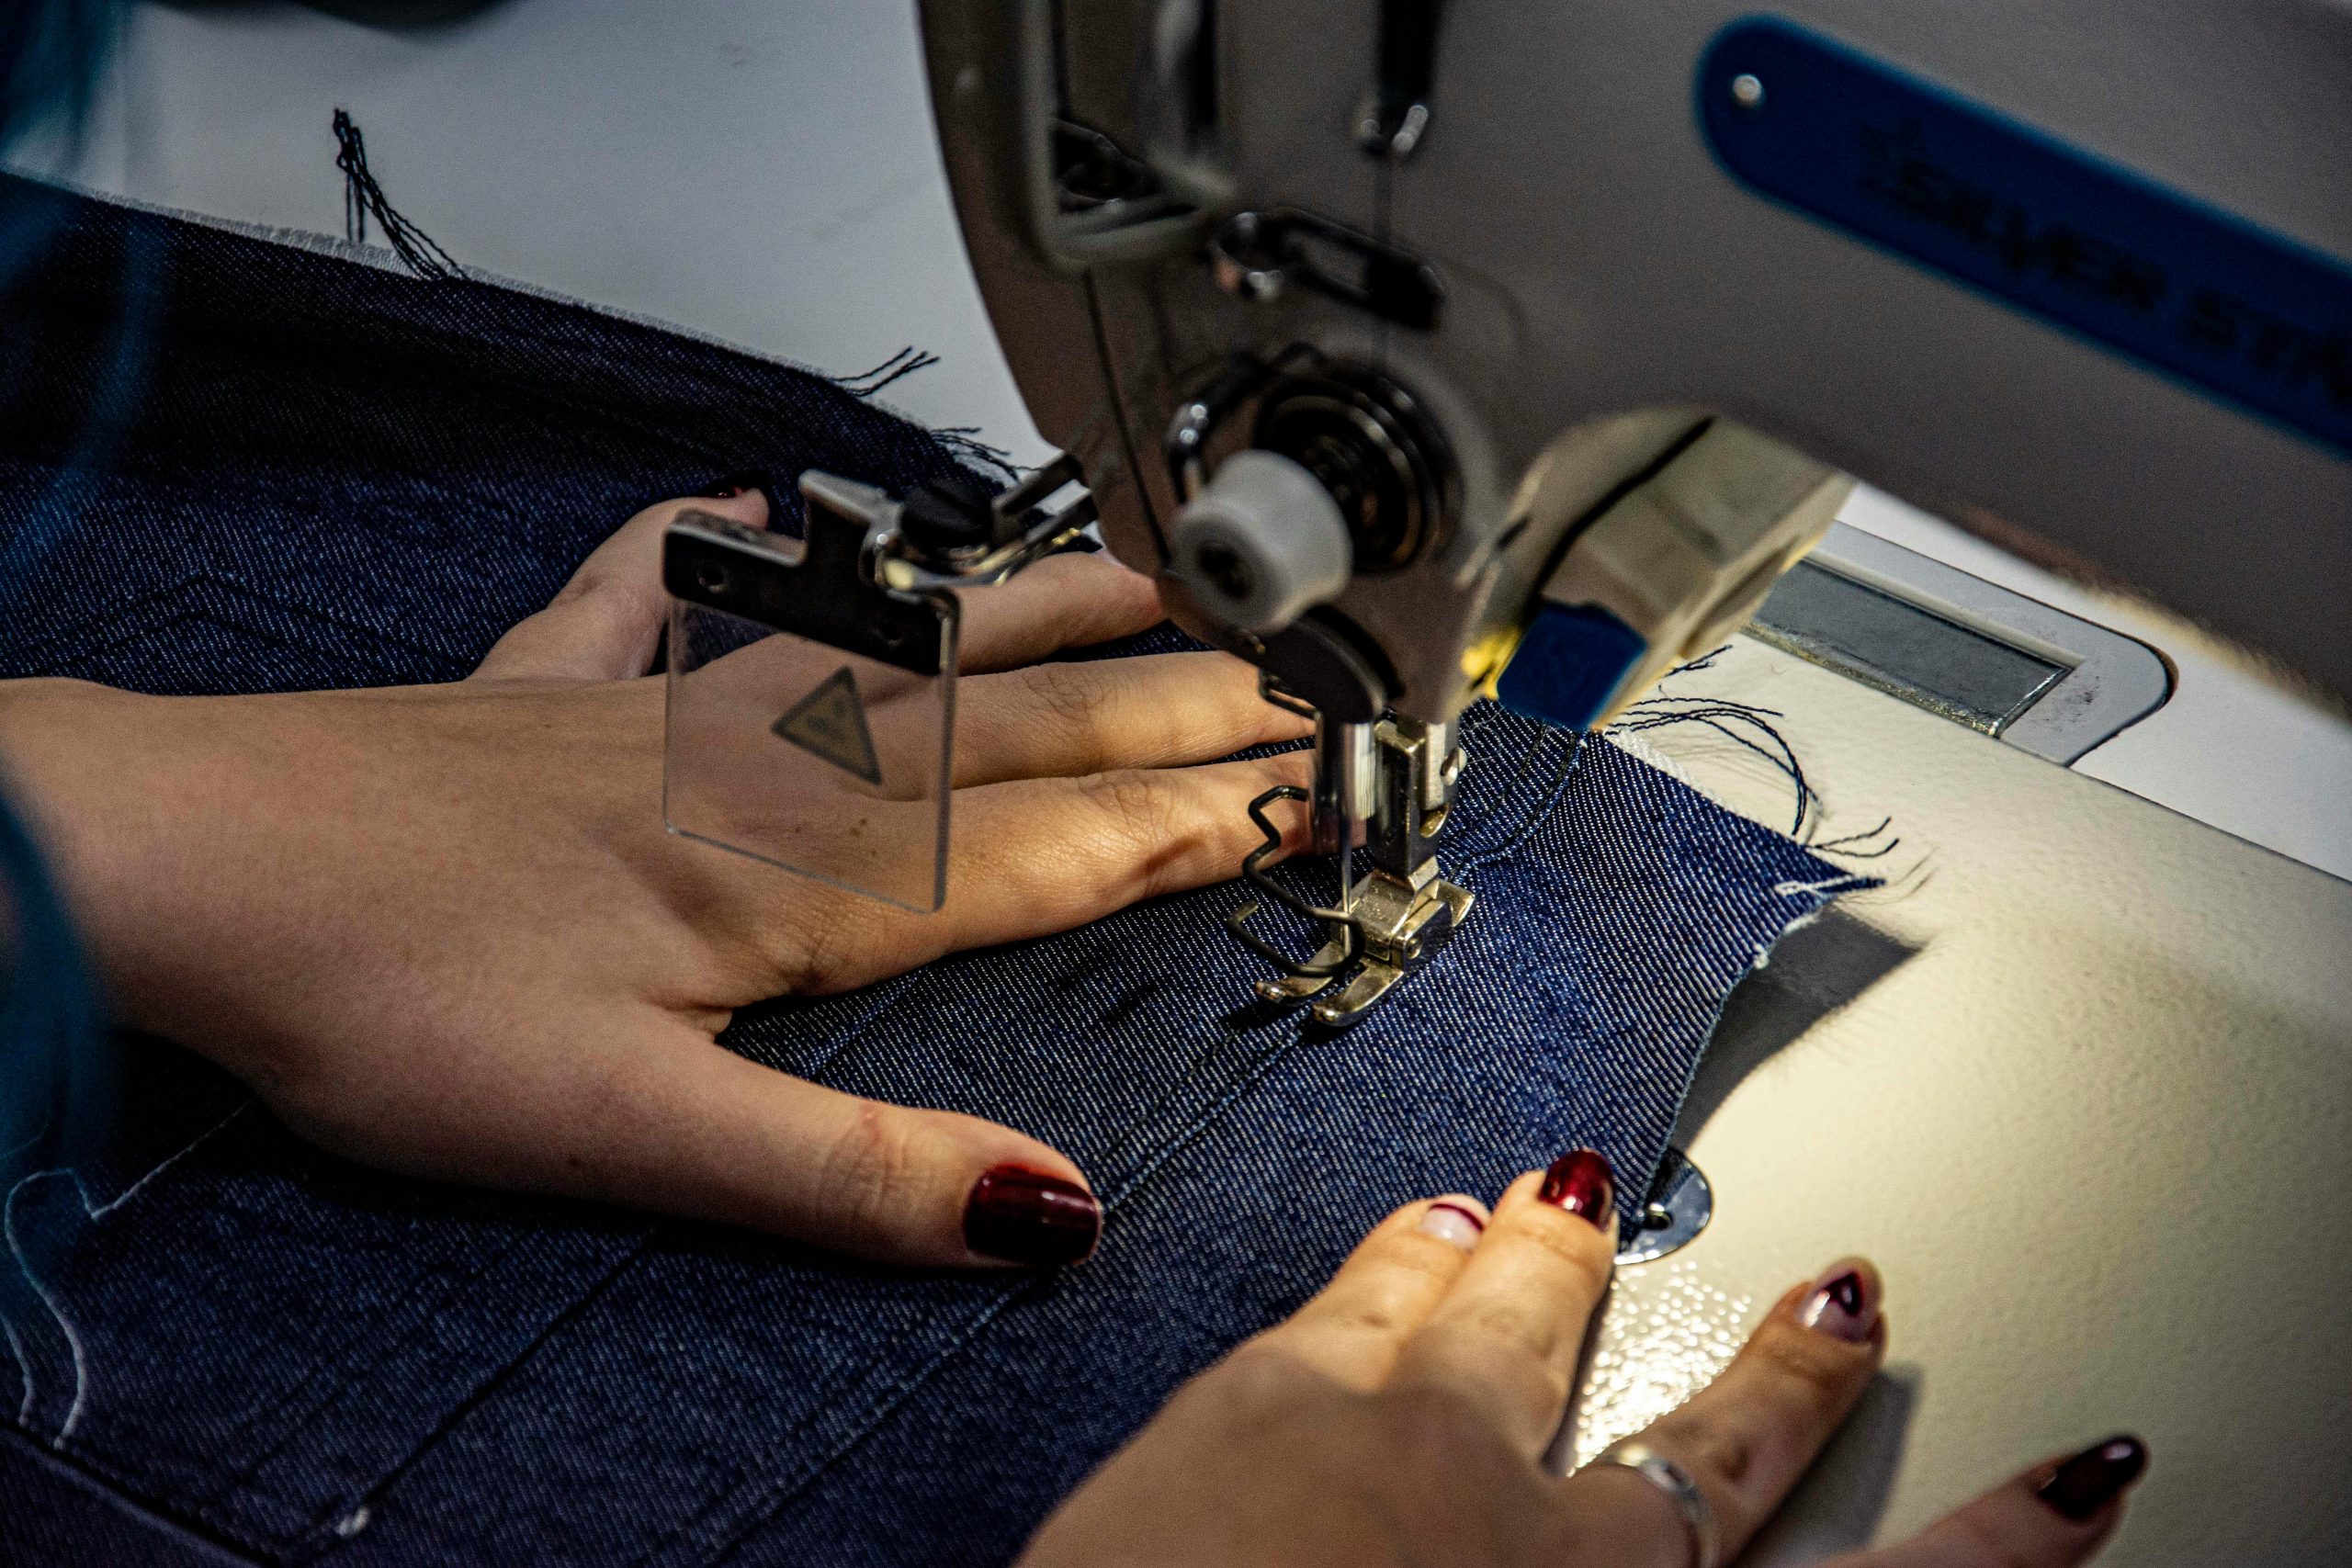
Seams which will be under great tension may need to be flat-felled. This technique may also be used decoratively, as in jeans. It encloses the seam allowance and may be visible on the right OR wrong side of the fabric, depending on the decorative goals.

Instructions
- Put the WRONG sides of fabric together
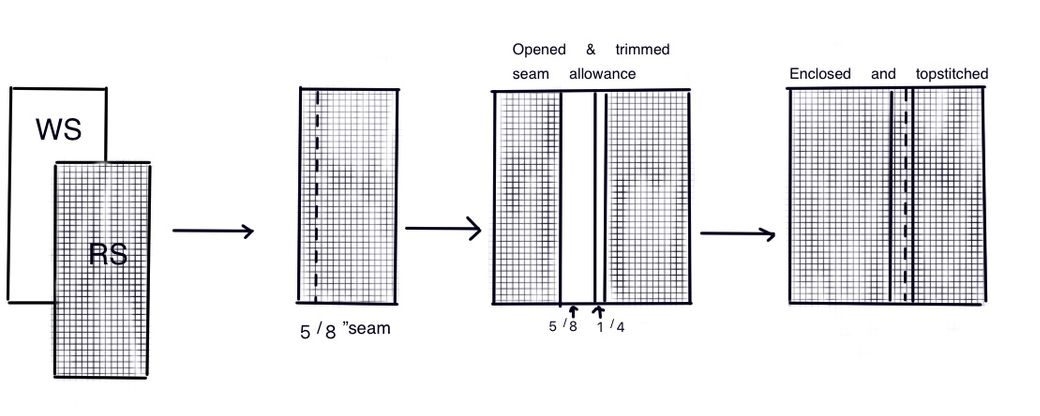
- Using Perpendicular Pinning and the guidelines on your machine, sew them together along the long edge with a 5/8” seam allowance.
- Press seam allowances open
- Trim one seam allowance to ¼”
- Press the other seam allowance over the trimmed allowance, turning the outer edge under it (encasing it).
- Pin Perpendicularly to the fold
- Stitch as close to folded edge as possible.
- Press
💡Tip: Remember that you can manipulate the size of your seam allowance/foldover to suit your needs. If you want a wider final fold, simply allow for more seam allowance in your patterning. Your first seam determines the visible stitching line; plan your seam allowance accordingly.
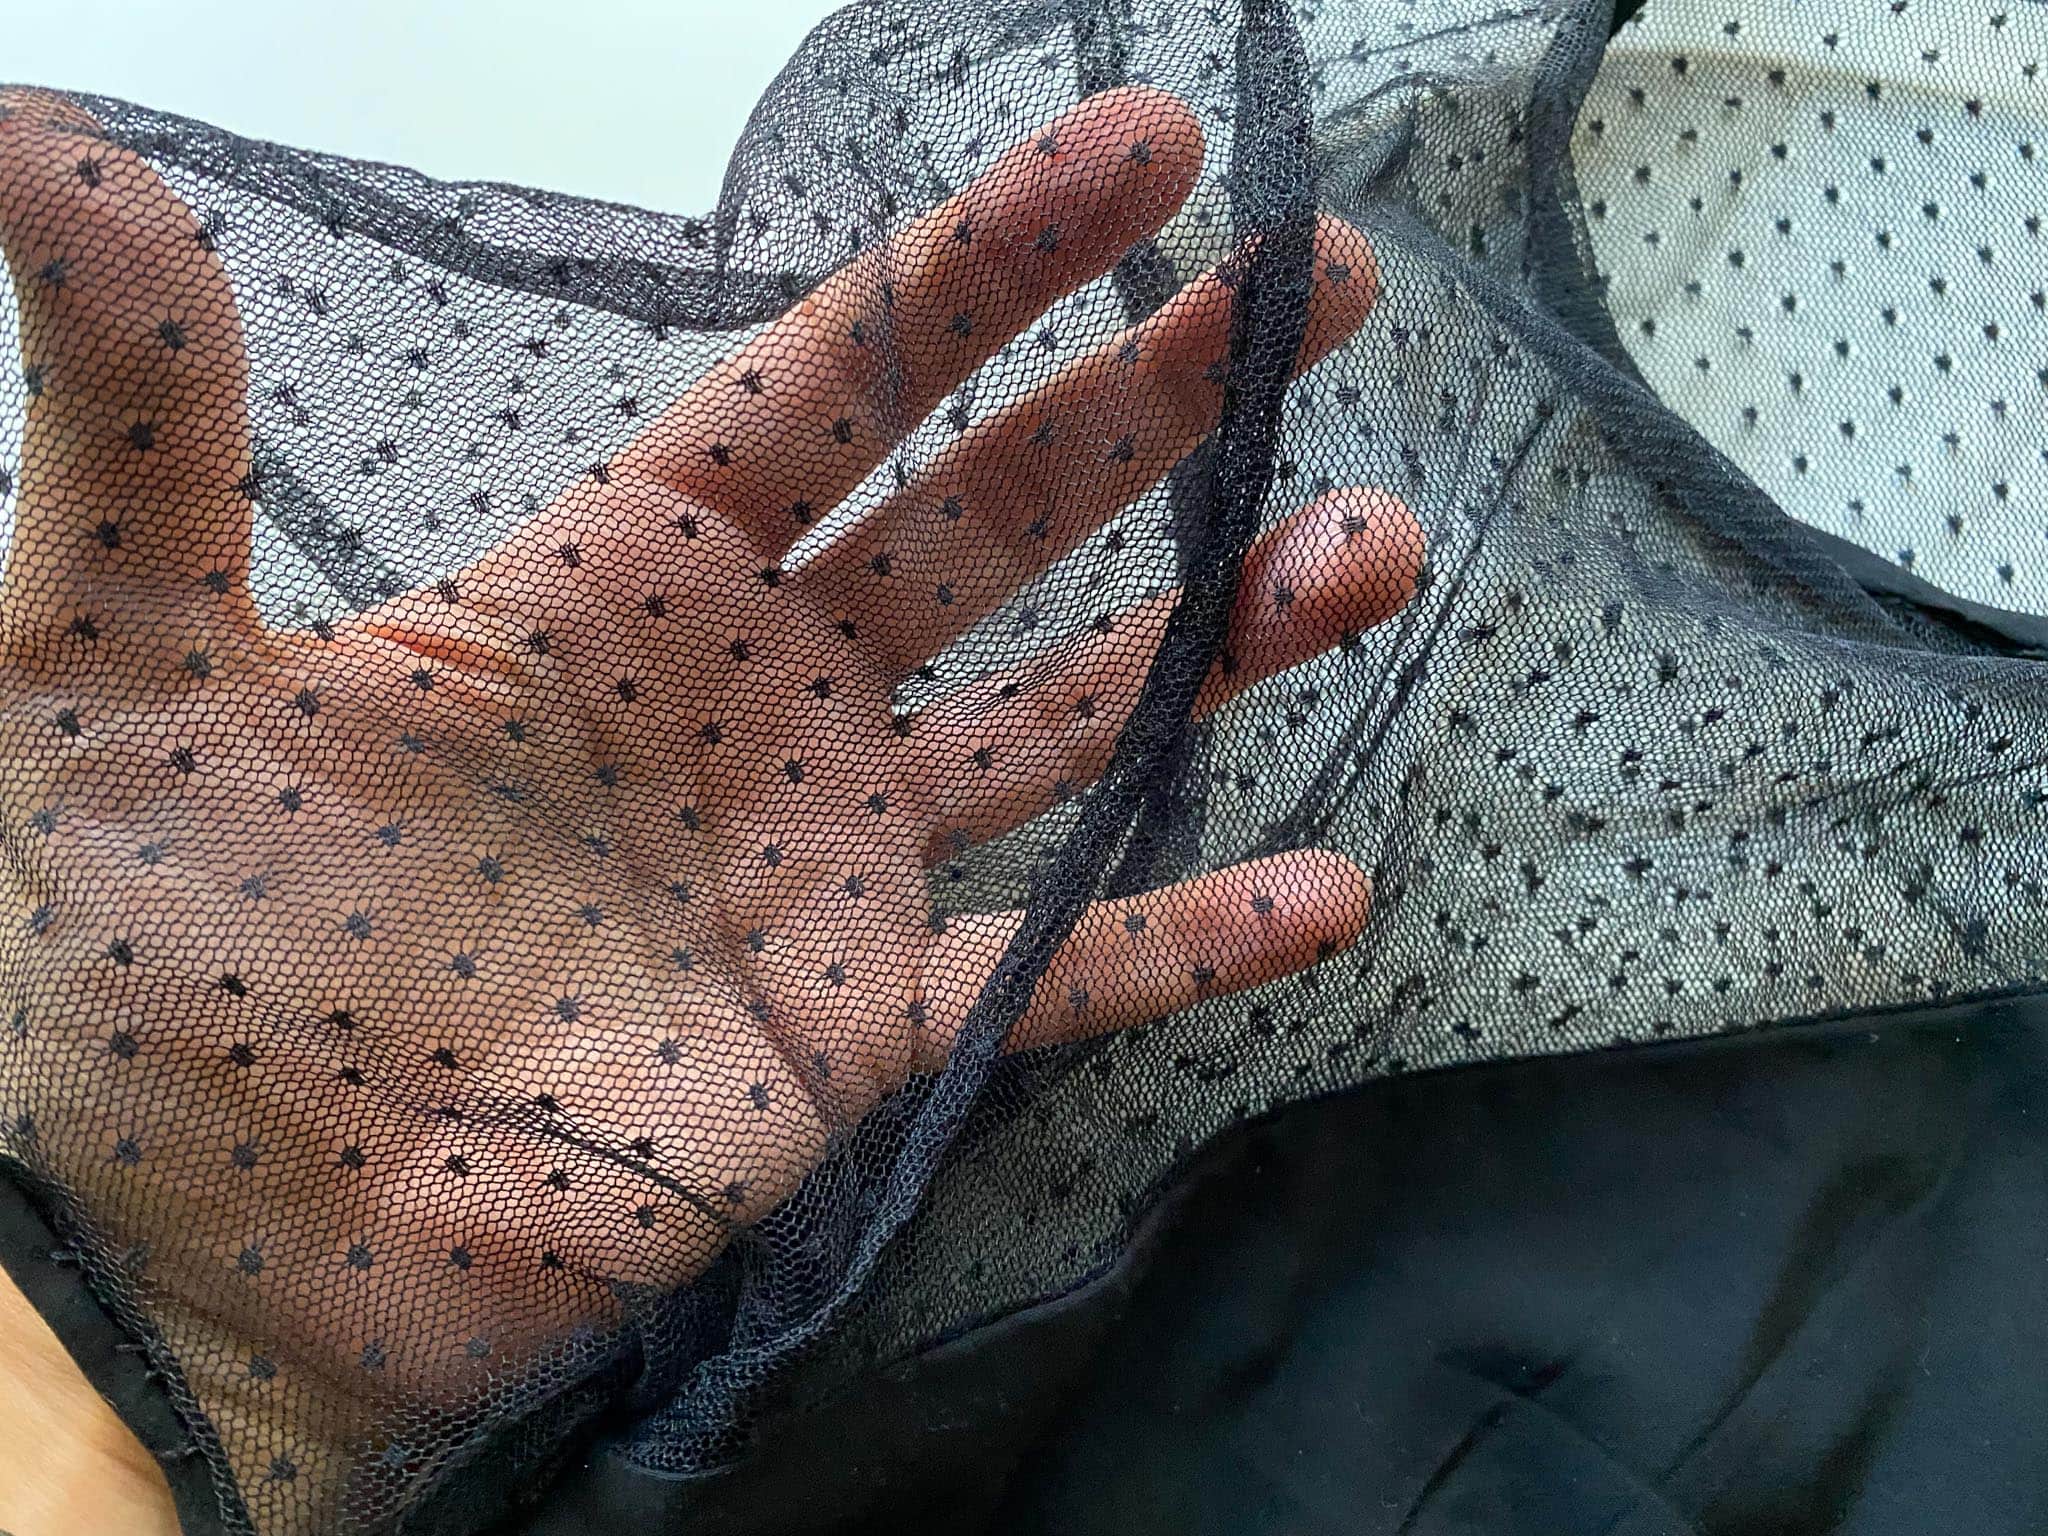
The French Seam
The French Seam is used for garments made of sheer fabrics in which raw seam allowances should not be visible through the fabric. It encloses the seam allowance and appears as a plain seam on the out (right) side of the garment. Because it involves 2 stitching steps, you must calculate carefully to achieve your desired seam allowance. The exercise below will net a 5/8″ seam allowance from the original edge.
Instructions
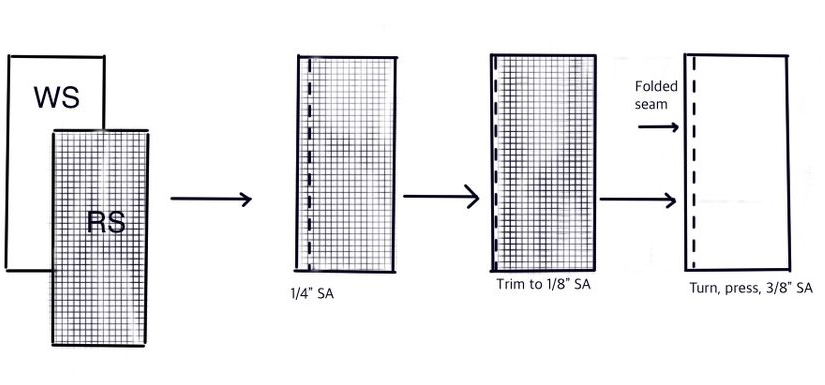
- Place the WRONG sides together and pin perpendicularly
- Stitch a plain seam 1/4” from the edge
- Trim seam allowances to 1/8”.
- Open and press seam allowances to one side.
- Flip fabric and repeat pressing on other side. Ensure the seam is flat on both sides before proceeding to the next step.
- Fold RIGHT sides together and press, keeping seam on the edge and pin perpendicular to the fold.
- Stitch 3/8” from the folded edge.
- Open fabric and press enclosed seam to one side.
💡Tip: When calculating your desired seam allowances remember that you have a 2-stage stitching process: 1st stitching SA + 2nd stitching SA = TOTAL FINAL seam allowance.
🎥 Demo: French Seam and Flat Felled Seam
See how to sew the French and Flat Felled Seams
ASSIGNMENT: ENCLOSED SEAMS
Supplies Needed:
-
Two 8″ x 10″ fabric samplers (clear right and wrong side)
-
Contrast thread for Flat-Felled Seam
-
Straight pins
Instructions
Complete the following samplers and submit them in your Sampler Binder:
Flat-Felled Seam
-
Cut one sampler in half lengthwise (two 4″ x 10″ pieces)
-
Use contrast thread for visibility
-
Place WRONG sides together
-
Pin perpendicular to seam
-
Stitch 5/8″ seam allowance
-
Press seam allowances open
-
Trim one seam allowance to 1/4″
-
Fold and press other allowance over trimmed one, tucking raw edge under to enclose (seam should finish at approximately 3/8″)
-
Pin and stitch close to fold
-
Final press
French Seam
-
Cut one sampler in half lengthwise (two 4″ x 10″ pieces)
-
Place WRONG sides together
-
Pin perpendicular
-
Stitch 1/4″ from edge
-
Open and press seam to one side (both sides of fabric)
-
Trim to 1/8″
-
Fold RIGHT sides together, press seam to edge, pin
-
Stitch 3/8″ from fold
-
Open and press seam to one side
Checklist for Submission
✅ Both samplers labeled with name and seam type
✅ Stored in page protectors in binder
✅ Neatly pressed with visible stitching where required
