Want to create or adapt books like this? Learn more about how Pressbooks supports open publishing practices.
11 Advanced Techniques: Interfacing & Buttonholes
Learning Outcomes
By the end of this unit, you should be able to:
Choose and apply fusible interfacing.
Correctly execute a machine-made buttonhole.
Calculate appropriate size and placement for a buttonhole.
Follow machine-specific instructions and use a buttonhole foot to create a fitted buttonhole.
Apply Fray Check and safely open a buttonhole.
Interfacing
Interfacing is a woven, knit, or non-woven fabric used to add stability and shaping to garment areas like collars, cuffs, lapels, and jacket fronts. In costume construction, which often requires more structure than everyday clothing, interfacing is essential. It can be sewn in or fused using heat. Always apply interfacing to the wrong side of the fabric.
Types of Interfacing
Attachment Type
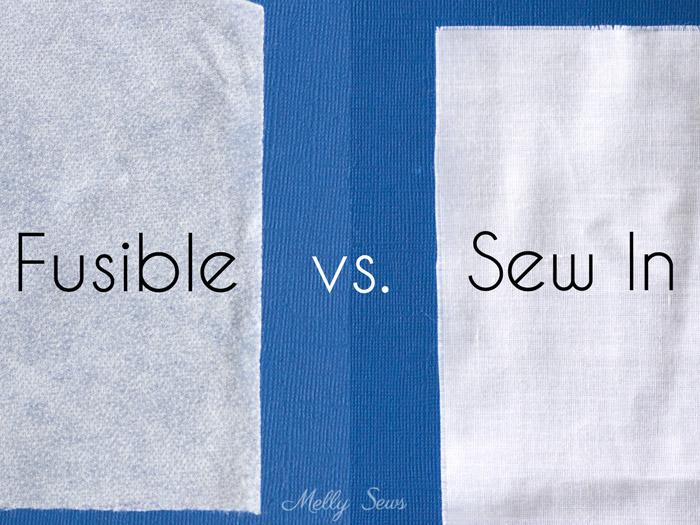
Sew-In Interfacing Stitched to the seam allowance of fashion fabric before garment construction. Common in couture garments.
Fusible Interfacing Has adhesive on one side, activated by heat. Easy to use and favored in home sewing and ready-to-wear fashion. Identify the adhesive side by its shiny or bumpy texture.
Fiber Type
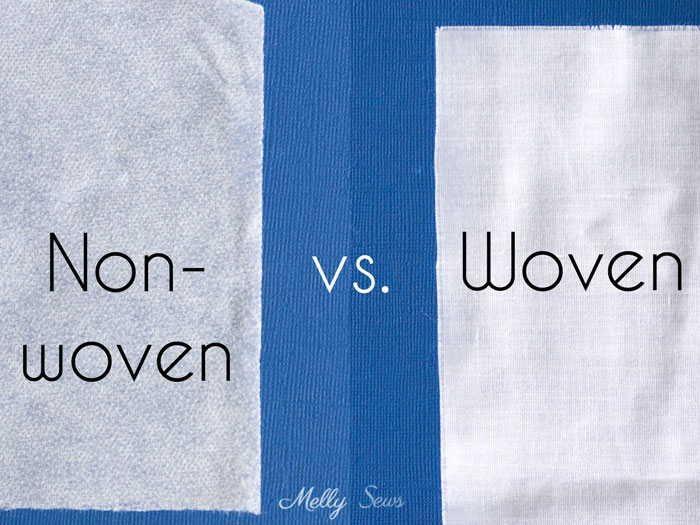
Woven Interfacing Has a visible warp and weft. Works best with woven fashion fabrics. Available in both fusible and sew-in varieties.
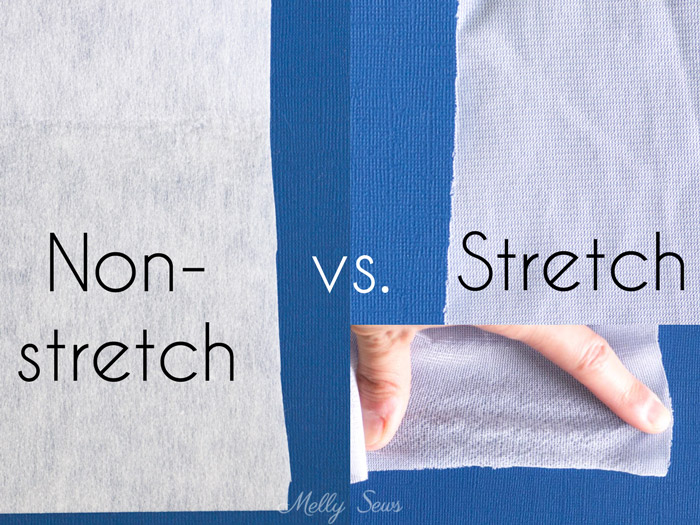
Knit Interfacing Has stretch similar to knit fabric. Used to maintain stretch and drape in knit garments.
Non-Woven Interfacing Made of bonded fibers, with no grain. Can be cut in any direction but is less durable. Often used in inexpensive garments.
Interfacing Weights
Lightweight – for minimal support; best for lightweight or delicate fabrics.
Medium weight – versatile; good for waistbands, collars, and structured areas.
Heavyweight – for thick fabrics or when additional structure is desired.
Choosing Suitable Interfacing: General Guide
Match the interfacing weight and type to your fashion fabric:
Fabric Type
Recommended Interfacing
Sheer woven
Sew-in organza or organdie
Lightweight woven
Light sew-in, fusible, or non-woven
Lightweight knit
Fusible tricot
Medium woven
Medium fusible, non-woven, or fusible fleece
Heavy woven
Heavyweight fusible or sew-in woven
Medium/heavy knit
Fusible knit (match stretch and weight)
Tailoring fabrics
Fusible hair canvas
Leather/suede
Fusible for leather or match to fabric thickness
Applying Fusible Interfacing
Cut the interfacing:
Heavyweight: Trim to the stitch line.
Lightweight: Cut to the full size of the fabric piece.
Position layers:
Lay the fashion fabric right side down on the ironing board.
Place interfacing adhesive side down on the wrong side of the fabric.
Cover with a pressing cloth.
Press, don’t glide: Hold the iron in place as per manufacturer’s instructions—don’t move it around, which can shift layers or create wrinkles.
🎥 Demo: All About Interfacing
Recap the types, function, and application of fusible interfacing.
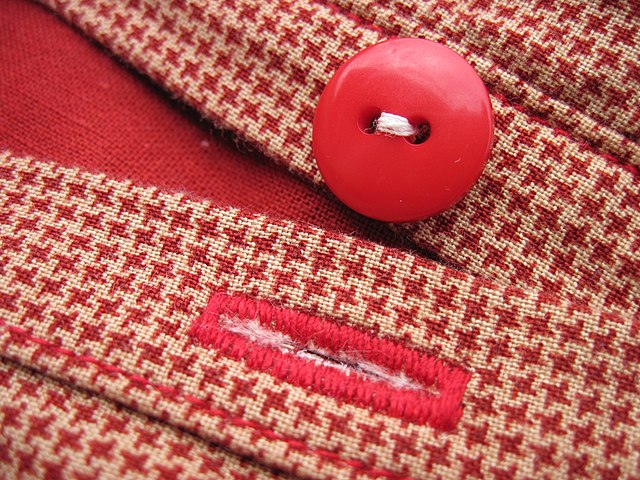
Position of Buttonhole = ½ button diameter from the edge of the placket OR as specified in your pattern directions.
Orientation (horizontal or vertical).
Horizontal orientation is used when the garment will be under strain (e.g., bust, waist, or jackets).
Vertical orientation is used in low-strain areas (e.g., dress shirts).
Consider where the button will create the most strain on the buttonhole when deciding on orientation. In this shirt, the neck buttonhole will take more strain so the horizontal orientation allows the button to pull at the edge and not the middle of the buttonhole.
💡 Tip:Horizontal buttonholes help prevent gaping when fabric is pulled.
Marking Buttonholes
Work on the wrong side of the fabric.
Use a washable fabric pen or graphite pencil.
Draw a center line for the buttonhole with hashmarks at each end (this is where your bar tacks will go).
🎥 Demo: Marking Buttonhole Placement
Watch the process of calculating buttonhole length and creating the markings for placement.
Making Machine Buttonholes
Machine processes vary—always consult your manual. Below are demonstration videos for machines used in our shop:
🎥 Demo: Bernina 215 Buttonholes
See the process of making a buttonhole with the Bernina 215
🎥 Demo: Bernina 1080 Buttonholes
See the process of making a buttonhole with the Bernina 1080
🎥 Demo: Bernina 1008/1006 Buttonholes
See the process of making a buttonhole with the Bernina 1008/1006
🎥 Demo: Singer 4411 Buttonholes
See the process of making a buttonhole with the Singer 4411
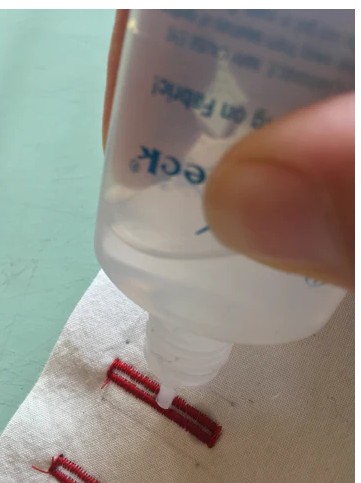
Opening Buttonholes
Apply Fray Check and allow to dry completely.
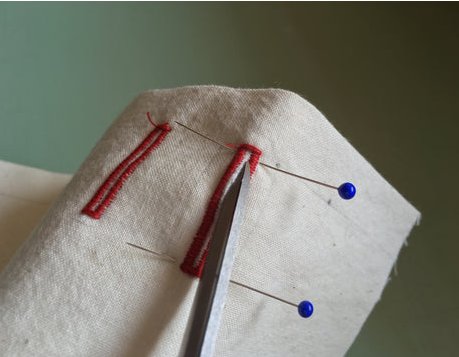
Insert pins at each end of the buttonhole inside the bar tacks.
Carefully open the center with a seam ripper, cutting up to the pins.
🎥 Demo: How to Safely Open a Buttonhole
See how to open a buttonhole
ASSIGNMENT: INTERFACING AND BUTTONHOLES
Supplies
8” x 10” fusible interfacing
8” x 10” woven fabric
Button of your choice
Instructions
Fuse interfacing to wrong side of fabric.
Fold fabric in half, right sides together. Press.
Stitch short ends using ½” seam allowance.
Trim and press seam allowances to ¼”.
Turn right side out. Press again.
Serge long (unstitched) edges.
Topstitch 2” from folded edge to create a placket:
Use a straight stitch, length 3
Backstitch at beginning and end
Choose a button and calculate buttonhole size:
Buttonhole = Diameter + Height + ⅛”
On the wrong side, mark 4 horizontal buttonholes spaced evenly along the placket:
Begin each ½” (or ½ diameter of button, whichever is greater) from fold