6 The Sewing Machine
Learning Outcomes
By the end of this unit you should be able to
- Identify the basic parts/controls of any of the sewing machines in the shop.
- Correctly wind a bobbin.
- Correctly thread upper and lower areas of any machine in the shop.
- Accurately follow a marked curve
- Accurately follow a straight line and corner
- Utilize forward and reverse
Understanding Your Machine
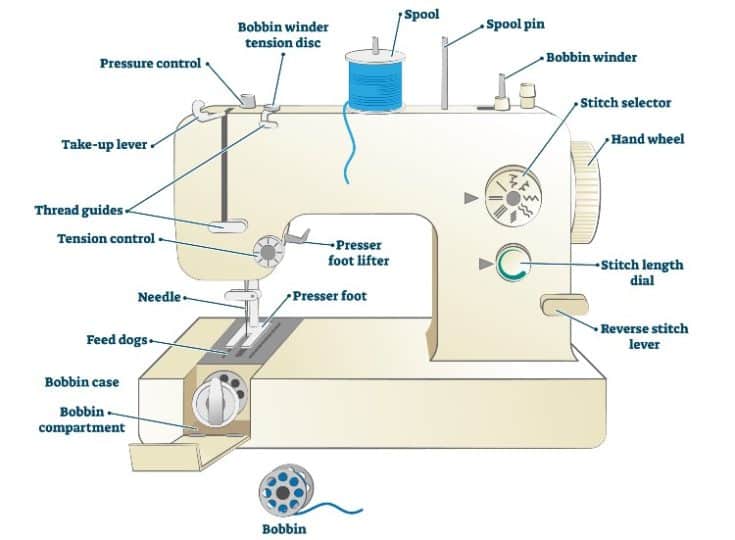
Basic Anatomy
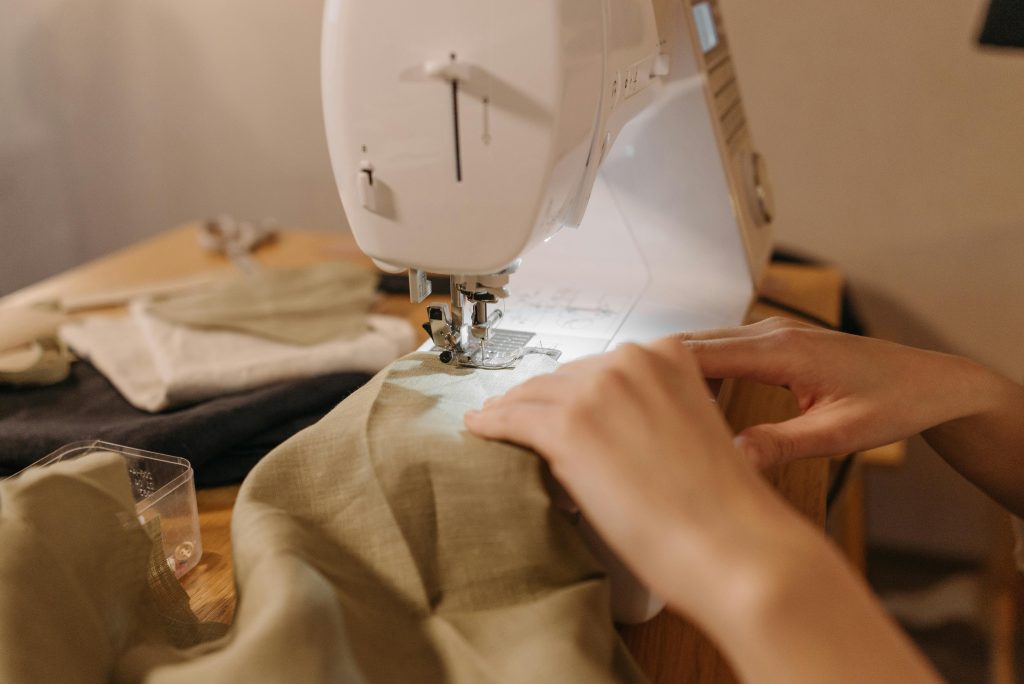
While they may appear slightly different, ALL machines possess the same basic features. When you sit down at a new machine, take time to orient yourself to their location.
🎥 Demo: Parts of a Sewing Machine and What They Do
Explore sewing machine anatomy and function.
How a Sewing Machine Works
What we know as the modern sewing machine works through a “lockstitch’ action. Watch this video to understand how a top and bottom (bobbin) thread work together with the machinery to create a stitch.
🎥 Demo: How a Sewing Machine Works
Understand how a sewing machine creates a stitch to help you in threading and diagnosing problems.
Setting Up Your Machine
Before You Sew
All stitching has 4 components you must locate and adjust before you sew:
- Stitch Length
- Stitch Width
- Stitch Direction
- Needle position
Stitch Length refers to the individual length of each stitch in millimeters. Stitch length controls are most pictured on a vertical orientation (although they may be a simple dial).
Stitch Width refers to how far each stitch deviates from the central needle position. A stitch width of 0 means that the line is straight (no deviation from center). When a stitch width is more than 0, it is referred to as a zigzag stitch. Stitch Width controls are most pictured as a horizontal orientation (although they may be a simple dial).
Stitch Direction refers to whether stitching proceeds forward (fabric feeding away from the stitcher) or in reverse (fabric feeding toward the stitcher). The natural motion is forward and there is a control for reverse. The reverse control may be a button or lever and is indicated by some version of a curved arrow:
Needle Position refers to where the needle is in terms of its central position. The control symbol is an oval with a dot in the center.
Threading Your Machine
While they may appear slightly different, machines all follow the same threading steps.
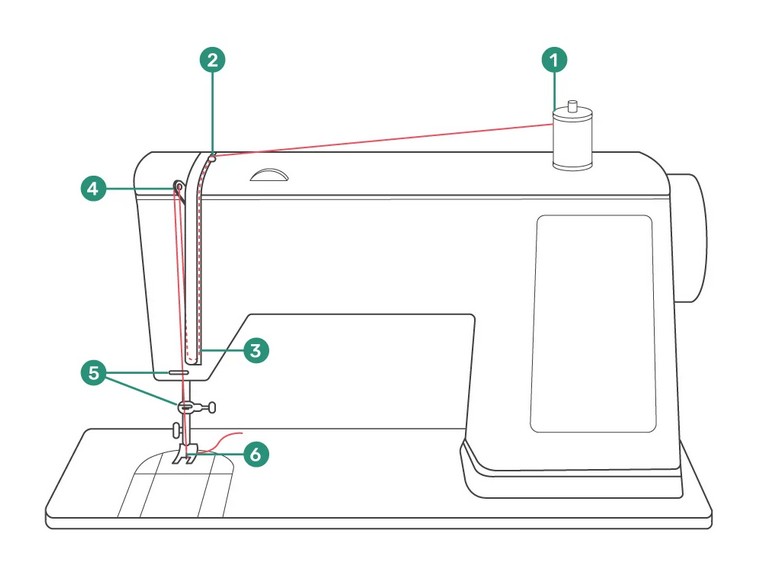
- Place the spool. To set up the upper thread for your machine, first place a spool of thread on your machine’s spool pin. If it is a horizontal pin, you will need to put a cap on to hold the spool in place.
- Thread through the thread guide. Pull the thread to the left of your machine and thread it through the thread guide.
- Pull the thread through the U-shaped guide. Pull the thread down from the thread guide, into a deep groove on the front of the machine, and then bring the thread back up into the second deep groove just to the left.
- Wrap the thread around the thread take-up lever. At the top of the machine’s second groove is a metal hook called the take-up lever. Wrap the thread around the take-up lever.
- Catch the Needle Thread Guides. There may be one or two on the way to the needle.
- Thread the needle. Pull your thread down toward the sewing machine needle, and thread the eye of the needle from front to back. Keep pulling the end of the thread until there are several inches of thread through the needle.
Threading and Setting Up CMU Costume Shop Machines
Consult machine guides for specific setup and operation directions. The following are video resources for the machines we use in the CMU Costume Shop.
Bernina 215
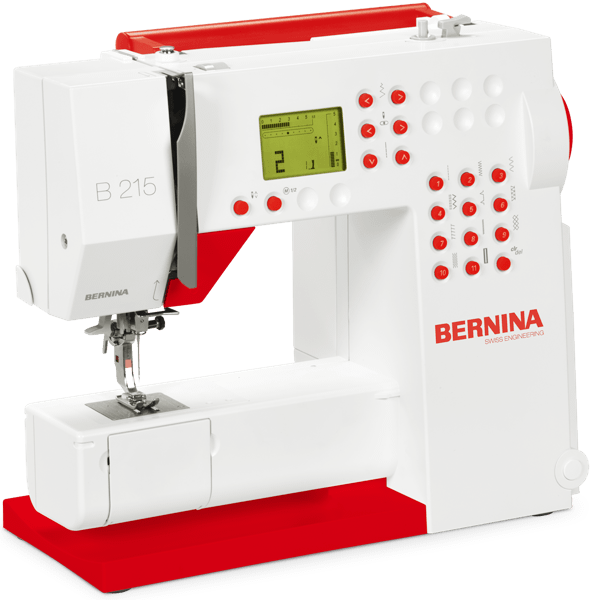
🎥 Demo: Setting up the Bernina 215
Learn how to wind a bobbin, thread, and manipulate settings on the Bernina 215.
🎥 Demo: Bernina Needle Threader
Learn how to use one of the special features on the 215 – an automatic needle threader.
🎥 Demo: Inserting the Bobbin
Learn how to insert the bobbin in the Bernina 215.
Singer 4411 (Heavy Duty)
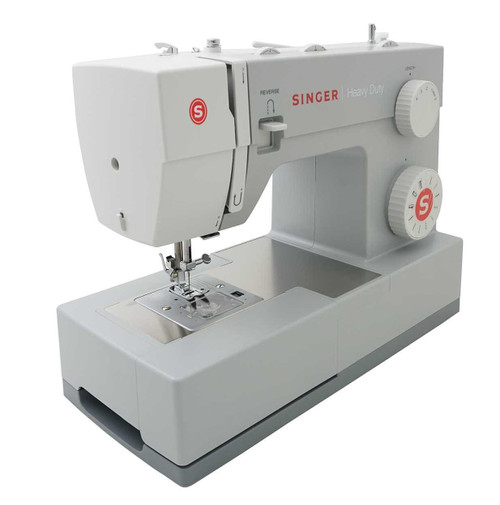
🎥 Demo:Setting up the Singer 4411
Learn how to thread, wind and insert a bobbin, and select settings in the Singer 4411
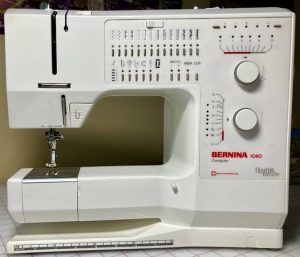
Older Berninas (1006 and 1080)
 |
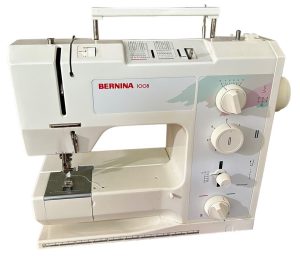 |
🎥 Demo: Threading the Bernina 1008
Follow the process of threading the Bernina 1008.
🎥 Demo: How to Wind the Bobbin
Learn how to wind the bobbin on a Bernina 1006 or 1008
ASSIGNMENT: UNDERSTANDING AND SETTING UP YOUR MACHINE
In-Class Activity and Study Guide to prepare for Quiz
- There are 3 groups of machines: Bernina 215s, Older Berninas, and Singer 4411. Take 10 minutes at each type of machine to do the following:
- Identify the stitch length, width, needle position, and reverse
- Wind a bobbin
- Thread both top and bottom threads
- Review basic machine anatomy and terminology as it applies to each group of machines.
