5 Fasteners
Learning Outcomes
By the end of this unit, you will be able to:
Correctly attach the following fasteners:
- 2-hole button (no thread shank)
- 4-hole suspender button (with thread shank)
- Shank button
- Snaps (male and female)
- Hooks (skirt hook/bar lapped closure, hook/eye kissing closure)
- Thread loops (flat and chain)
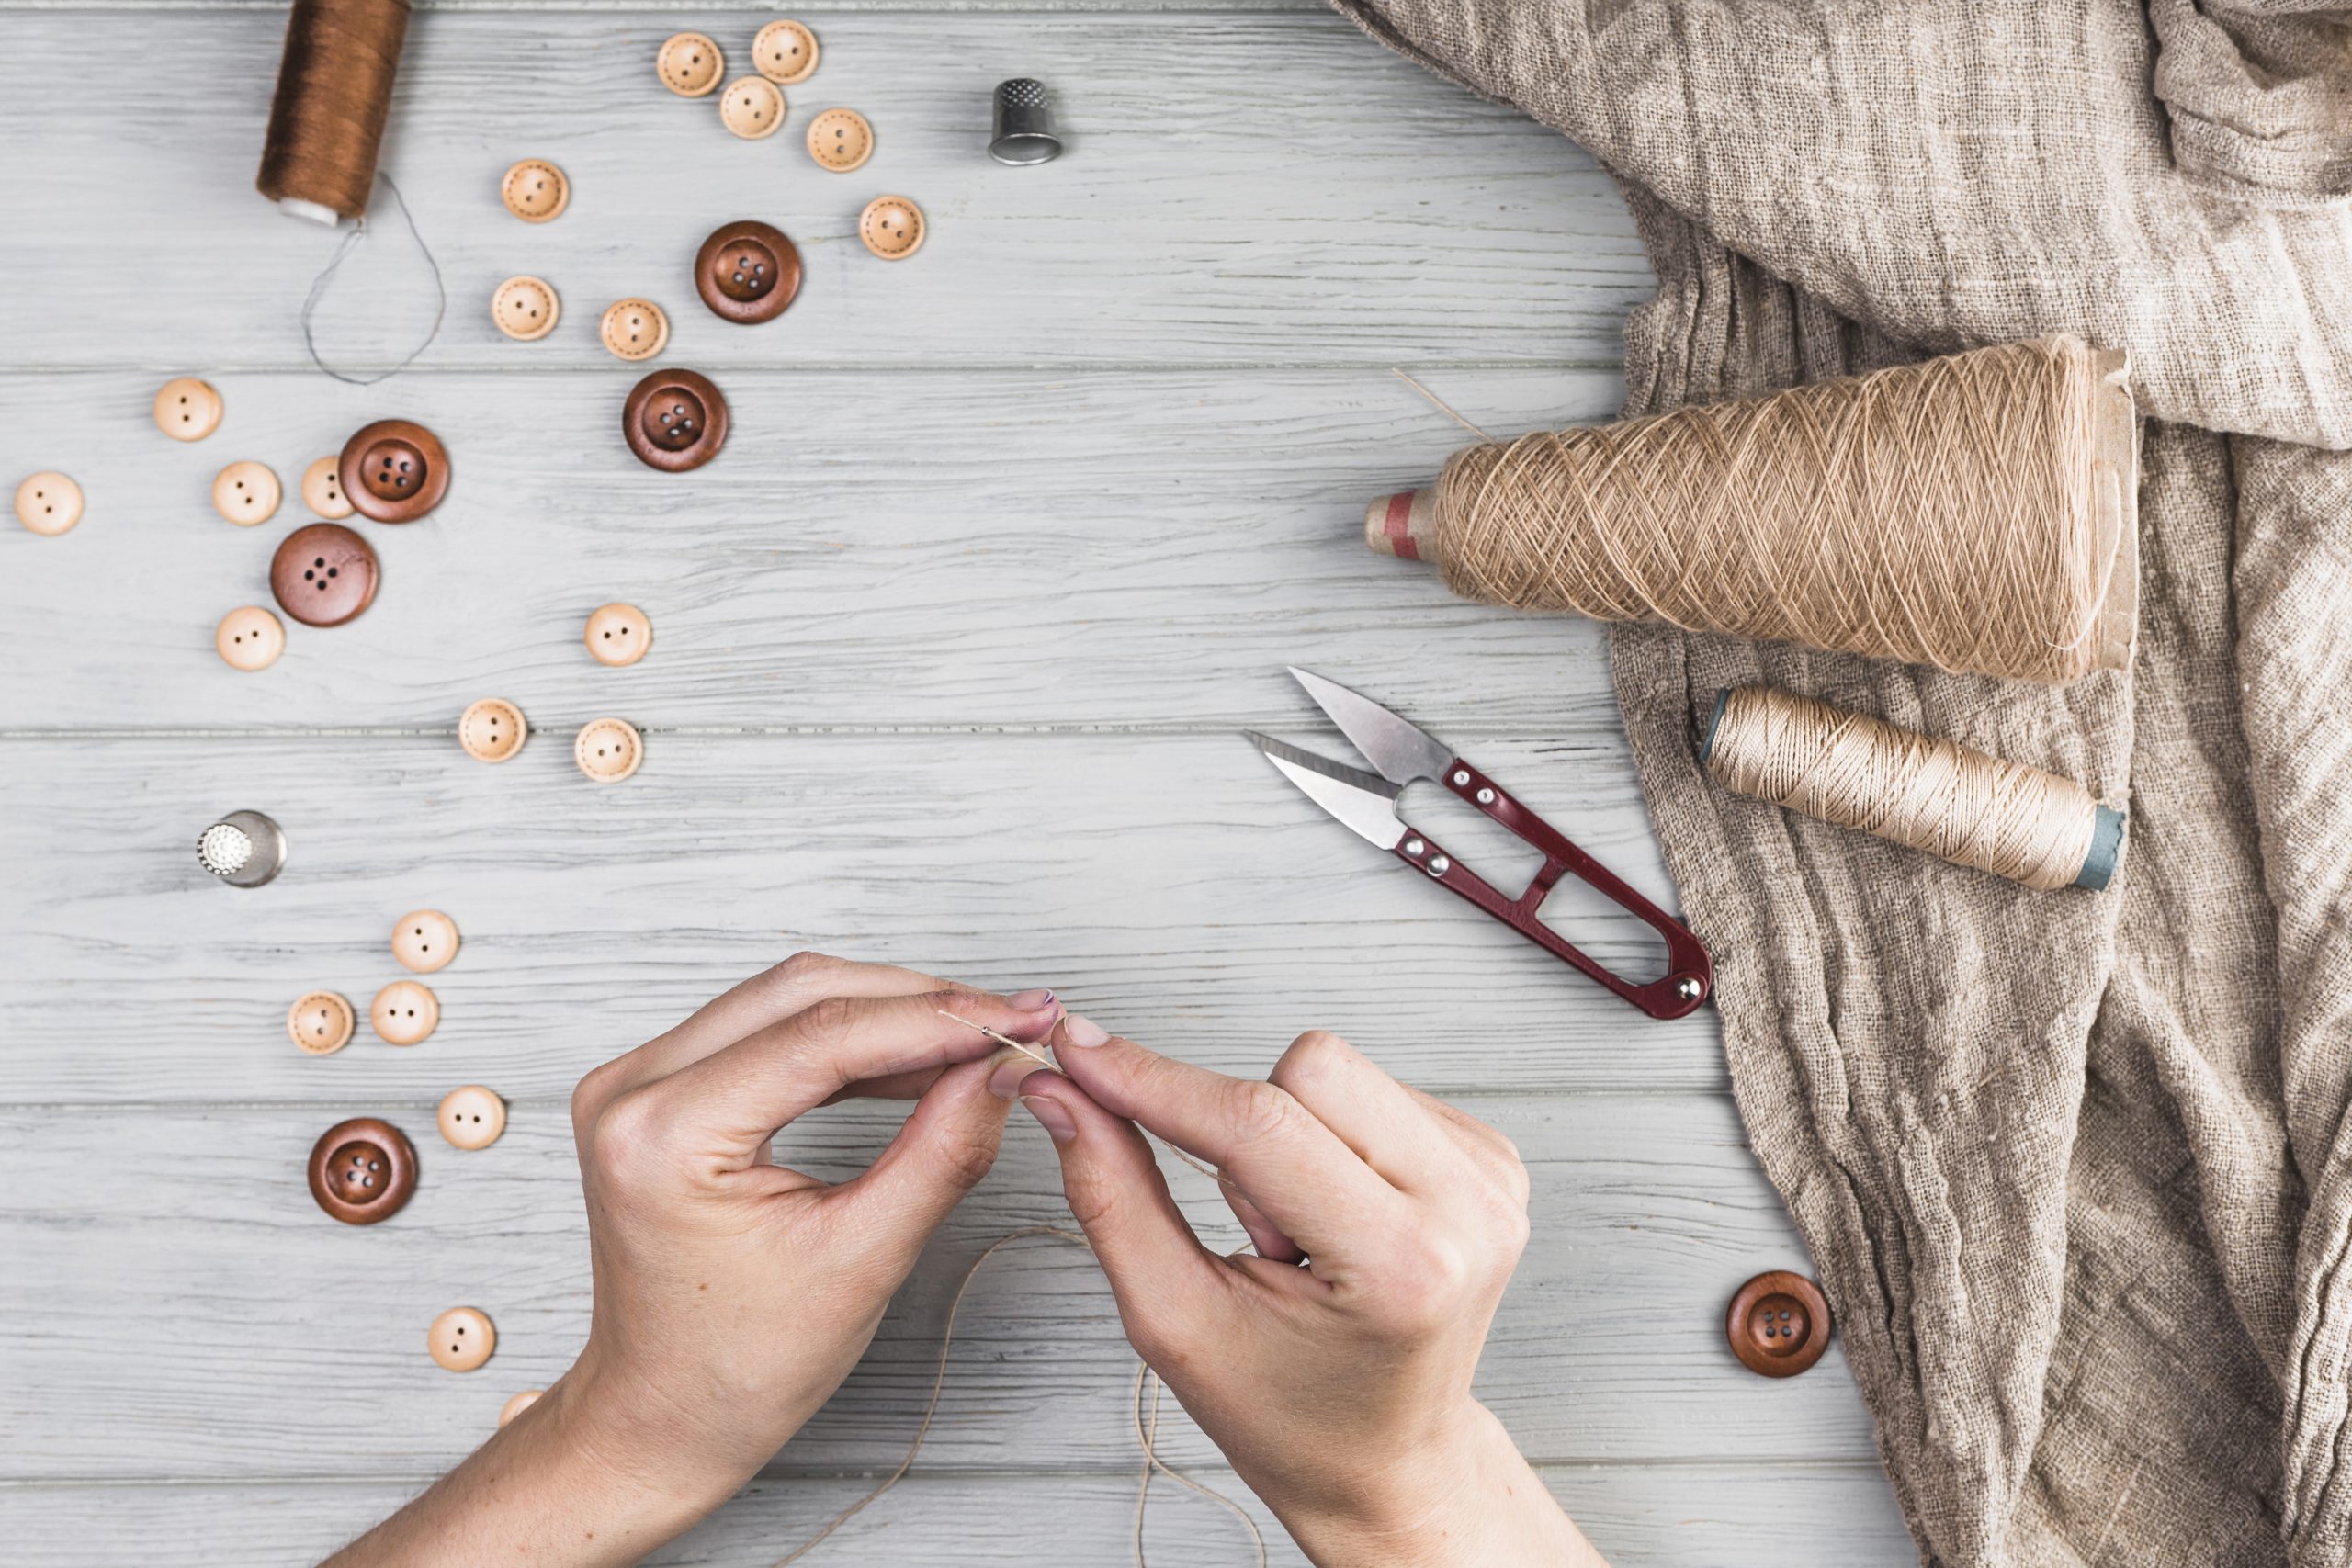
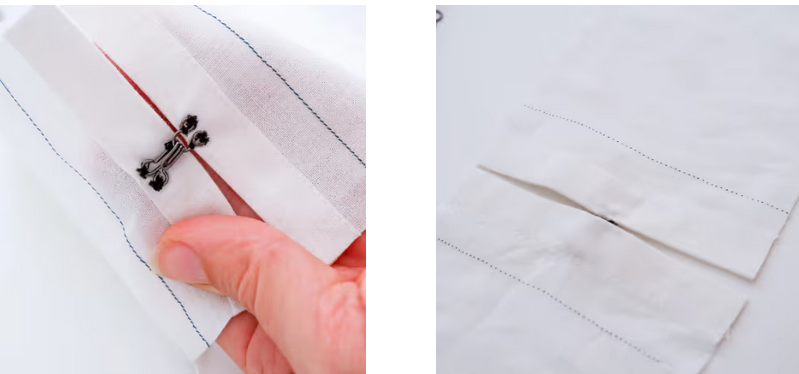
Anchor Stitch
An anchor stitch is a hand sewing technique used to secure your thread to your fabric before attaching your fastener. It creates greater stability and durability.
Steps
- Bring thread to the front: Bring the needle and thread up from the backside of the fabric where the fastener will be placed. If no stitches can be visible from the backside, simply take your stitch starting from the working side.
- Take a tiny stitch: Take a very small stitch, going back down through the fabric close to where you came up.
- Repeat: Take another tiny stitch right next to the first one.
- Ready to stitch: You’ve created an anchor, and you can now begin sewing on your fastener or continue with your sewing.
Buttons
Types of Buttons: Sew-through and Shank
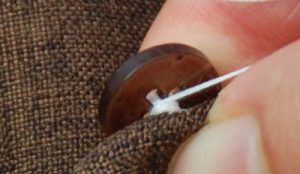
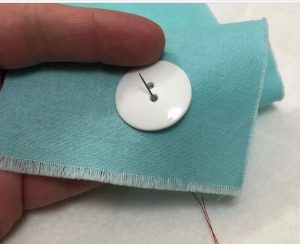
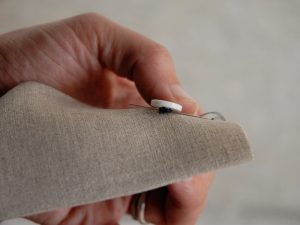
2-Hole Button
Used for low-stress placements like shirt fronts or cuffs.
🎥 Demo: Sewing a 2-Hole Button
Watch how to anchor, position, and securely stitch a 2-hole button for a low-stress closure.
Steps
- Take anchoring stitch at mark.
- Bring needle up through one hole, down through the other (back of button faces garment).
- Snug button to fabric.
- Repeat 4–5 times.
- Knot on back.
 |
 |
 |
 |
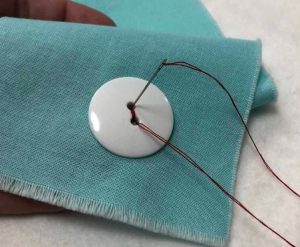
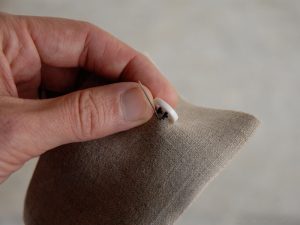
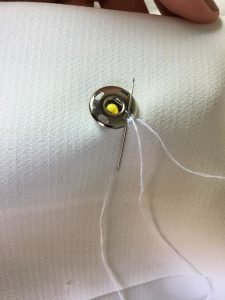
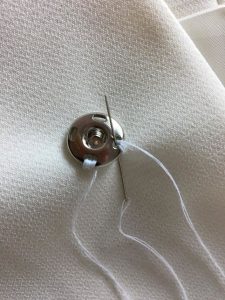
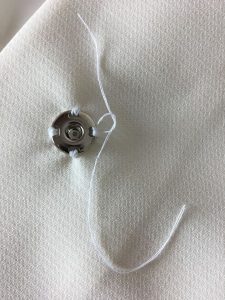
Suspender Button (4-hole with thread shank)
Ideal for suspender attachments or thick fabrics.
Suspender Buttons 101 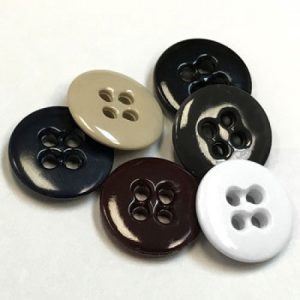
While any neutral button may be used as a suspender button, the ones created specifically for that purpose have special features.
- They are rounded on one side and flat on the other. The rounded side goes against the fabric to help create a smooth passage for the suspender loop.
- They may have depressions between pairs of the holes so that stitches will be sunk to the surface of the button, reducing friction and wear.
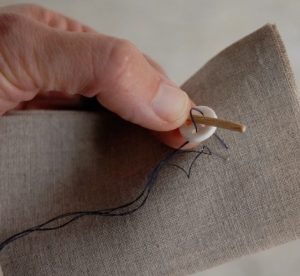
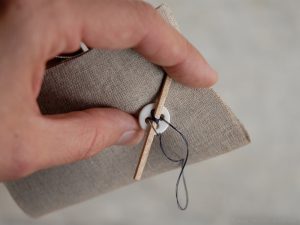
🎥 Demo: Creating a Thread Shank for a Suspender Button
See how to sew a suspender button with a thread shank to lift the button off thick fabric and allow smooth suspender loop placement.
Steps
- Anchor stitch at mark.
- Place curved side to fabric.
- Insert toothpick under button to create spacer.
- Sew through hole pairs, 4–5 times each.
- Remove spacer. Wrap thread around shank 4–6 times.
- Knot under button.
 |
 |
 |
 |
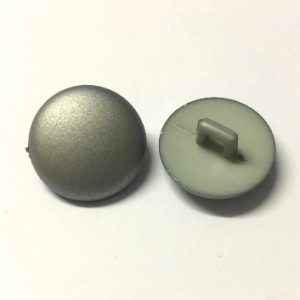
Shank Buttons
Decorative buttons with built-in loop (shank) on back.
🎥 Demo: Attaching a Shank Button
Follow this demonstration of sewing a decorative shank button with strong, hidden stitches.
Steps
- Anchor stitch at mark.
- Pass needle through shank loop and tiny stitch in fabric.
- Repeat 4–5 times.
- Knot under button.
💡Tip: Because the suspender button is most often positioned on the INSIDE of a garment, no stitches should be visible on the OUTSIDE. Therefore, your needle must always stay on the WORKING (button) side of the garment
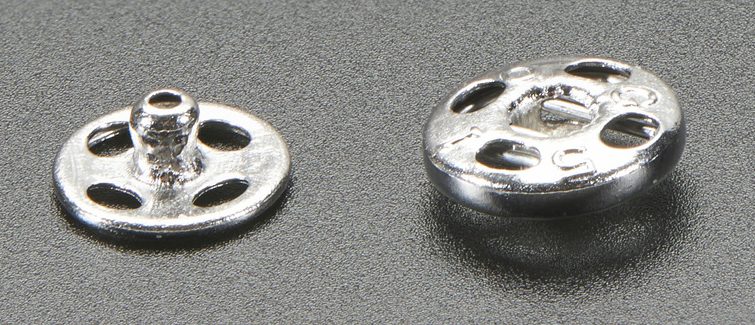
Snaps
Snaps are used for closures that will not bear intense stress. In the costume shop, they are often used for quick rigging due to their ease of fastening and unfastening.
The positive (male) half, because it is flatter, is usually placed on the inside of the top part of the closure. The negative (female) half is placed on the underlap of the closure.
🎥 Demo: Sewing on a Snap (Positive and Negative Halves)
Learn to stitch both halves of a snap securely, with stitches hidden on the garment’s outside.
Positive (Male) Half
Steps
- Take an anchoring stitch at the marked position.
- Bring the needle up through one hole of the snap.
- Center the snap over the anchoring stitch, holding it in place with your thumb or a pin through the center hole.
- Whipstitch over the hole 3–5 times, keeping stitches close together and near the edge of the snap.
- Transition to the next hole by passing the needle behind the stitches (do not pierce through the fabric).
- Repeat the whipstitch and transition for all holes.
- Take a small stitch next to your final set of stitches and knot securely.
- (Optional) Bury the knot tail by taking a small stitch between fabric layers, then cut and work the thread between the layers.
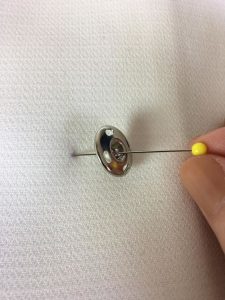
Negative (Female) Half
Steps
- Mark the position by pressing the positive half’s nub into chalk or pencil, then closing the snap to transfer the mark.
- Attach using the same steps as for the positive half.
💡Tip: All stitching is done on the topside of the fabric. No stitches should be visible on the outside of the garment.
Hooks, Eyes, and Bars
Used for both overlapping (lapped) and kissing (abut) closures depending on stress level.
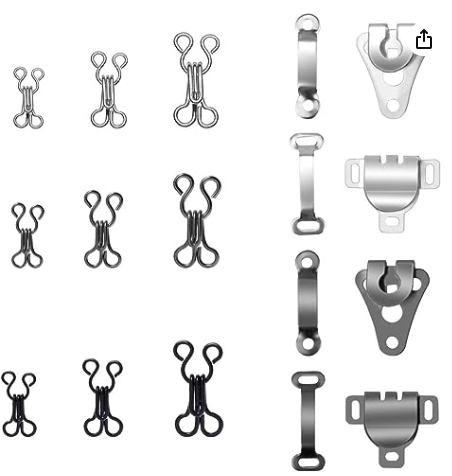
Hooks and Bars — Lapped (Overlapping) Closures
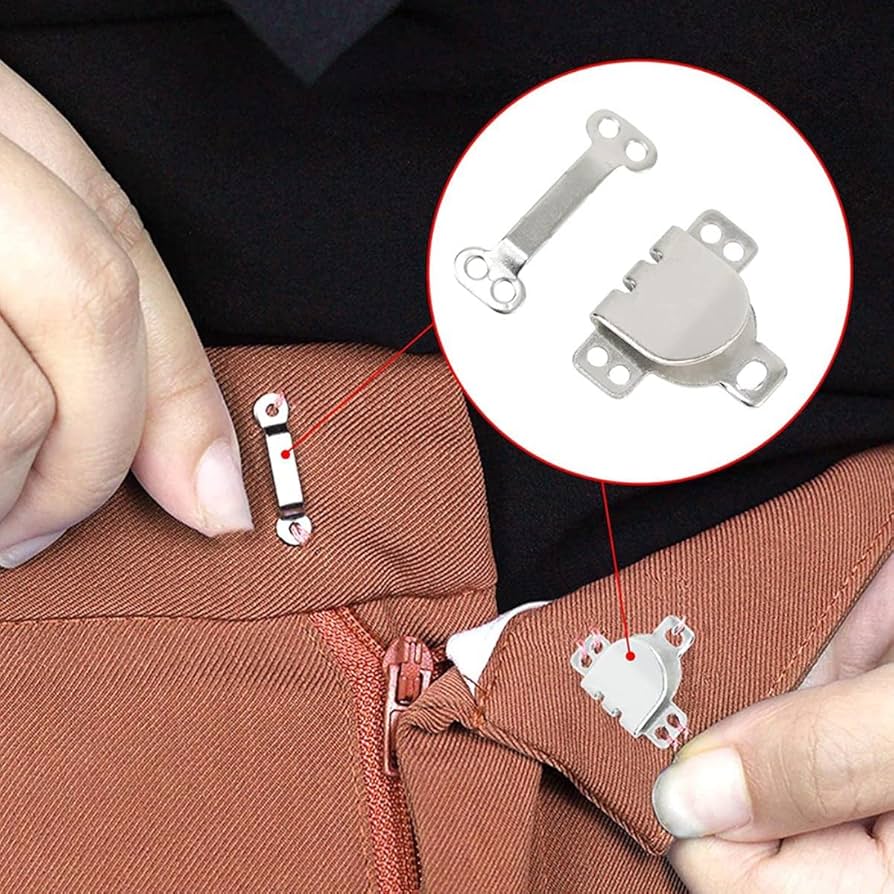
Lapped closures use a skirt hook and bar to create a secure fastening in high-stress areas like waistbands.
-
The hook is sewn on the wrong (downward-facing) side of the overlap.
-
The bar is sewn on the upward-facing side of the underlap.
-
All stitching is done on the working side; no stitches should be visible on the outside of the garment.
-
Sew hole-to-fabric, not hole-to-hole.
🎥 Demo: Attaching a Skirt Hook and Bar
See the correct positioning and stitch pattern for a strong waistband closure.
Skirt Hook
Steps
- Position the hook ¼” back from the edge and mark the top edge position.
- Take two anchoring stitches under the hook position.
- Place the hook at the mark and hold it in place with your thumb.
- Whipstitch through one hole 3 times.
- Transition between layers to emerge at the next hole (point of triangle).
- Whipstitch through that hole 3 times.
- Transition between layers to emerge at the final hole.
- Whipstitch through that hole 3 times.
- Knot by taking a small stitch at the edge of the last hole and securing with a looped knot.
💡Tip: Sew hole-to-fabric, not hole-to-hole, for strength and neatness.
Bar
Steps
- Determine and mark the desired position of the bar, based on the overlap of the hook side.
- Hold the bar in place at the mark.
- Whipstitch through one hole 3 times.
- Knot securely at that end.
- Whipstitch through the other hole 3 times.
- Knot securely at that end.
💡 Tip: Unlike the hook, the bar is knotted at each end instead of transitioning between holes.
Hooks and Eyes — Abutting (“Kissing”) Closures
Abutting (or “kissing”) closures are used in areas of low stress, such as neckline closures, where the edges of the fabric meet without overlapping.
-
The hook is placed ⅛” back from the edge.
-
The eye is positioned so edges meet neatly.
🎥 Demo: Sewing a Hook and Eye for a Kissing Closure
Watch how to sew a hook and eye where fabric edges meet neatly, with no overlap.
Hook
Steps
- Set the hook ⅛” back from the edge and mark its position.
- Take two small anchoring stitches between the loops.
- Travel between layers and exit at the neck of the hook (where it bends).
- Take 2–3 stitches across the neck to secure it.
- Travel between layers to one eye of the hook; emerge inside the eye.
- Take 3 strong whipstitches, attaching the eye to the fabric.
- Travel between layers to the other eye; emerge inside it.
- Take 3 strong whipstitches, attaching the eye to the fabric.
- Travel between layers to emerge between the eyes and knot off.
Eye
Steps
- Fasten the hook and eye together to align placement.
- Position the eye so fabric edges meet; pin in place or mark loop positions with pencil.
- Take two small anchoring stitches between the loops, emerging inside one loop.
- Take 3 strong whipstitches attaching the loop to the fabric.
- Travel between layers to emerge inside the other loop.
- Take 3 strong whipstitches attaching the loop to the fabric.
- Travel between layers to emerge between the loops and knot off.
- (Optional) For extra stability, take securing stitches at a high point on each side of the eye.
💡 Tip: Hook and eye stitching is done on the working side of the fabric, with no visible stitches on the garment exterior.
Thread Loops
Used where metal loops would be visible or for delicate/historical work.
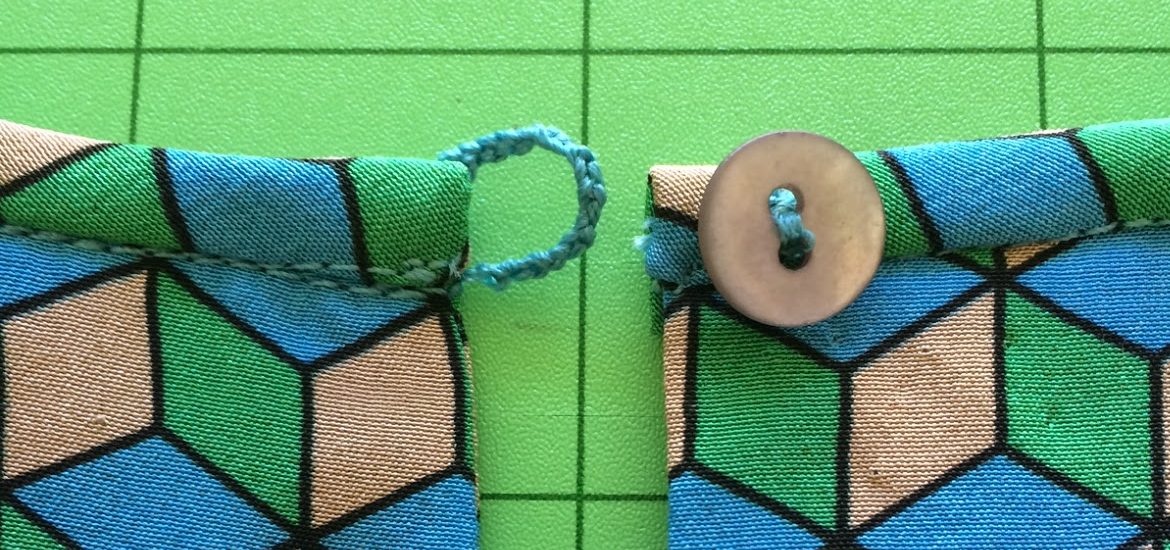
💡Tip: May be used for loops, bars, or to create flexible belt loops
🎥 Demo: Making a Thread Loop
Learn to chain a thread loop for use as a discrete or decorative fastening.
ASSIGNMENT: FASTENERS
Supplies Needed
- Silamide or Heavy-Duty Thread
- Hand Sewing Needle
- Snips or small scissors
- Supply bag with the following:
- Suspender button
- 2-hole button
- Shank button
- Small (shank) pearl button
- Toothpick
- Medium snap set (positive and negative)
- Skirt hook and bar set
- XL hook and eye set
- L hook
Samplers to be Prepped
- (4) 8 x 10 pressed in half hot-dog style
- 1 used as-is for button samplers
- 3 others each cut cross grain into 4 equal sections
For All Samplers
- Use doubled thread
- Begin with an anchor stitch
- Use technique as outlined in text to determine what shows on the back.
- Label Each Sampler/Fastener
- Put each in separate page protector in binder.
Final Samplers (6)
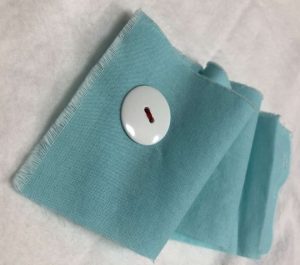
- Button Sampler: Positioned top to bottom: 2-hole shirt button, suspender button with thread shank, shank button, – set 1” back from folded edge and spaced 2″ apart from each other.
- 2 hole shirt button and shank button may show stitched on reverse side
- suspender button should not show stitches on reverse side EXCEPT for initial anchoring stitches.
- Small Samplers (all may show attachment points, but no transition threads)
- Overlapping by 1″
- Skirt Hook and Bar
- Snaps
- L Hook and thread bar
- Abutting (kissing)
- XL Hook and Eye
- Small shank button and thread loop
- Overlapping by 1″
