12 Advanced Techniques: Gathering
Learning Outcomes
Upon completion of this unit, you should be able to correctly execute the following:
-
Create and attach an eased gather.
-
Create and attach gathers using the parallel lines method.
-
Create and attach gathers using the zigzag over thread method.
Gathers
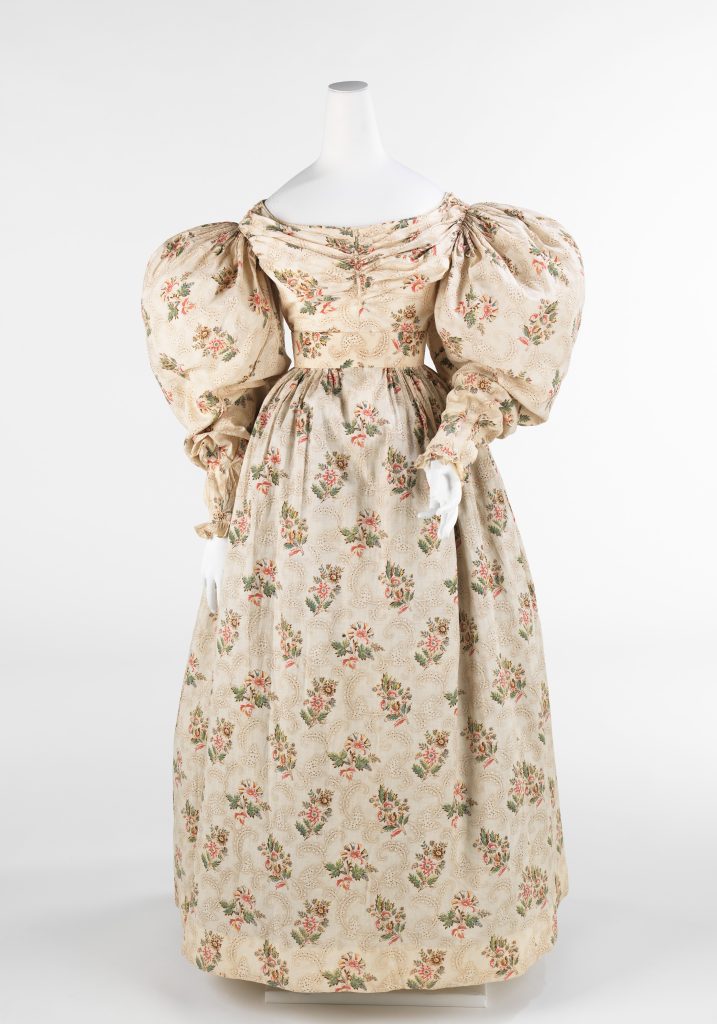
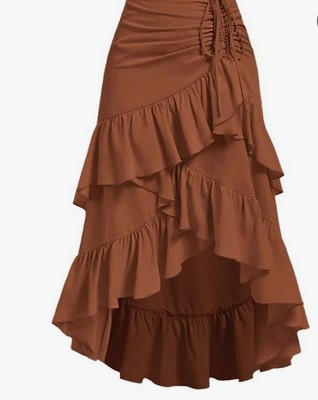
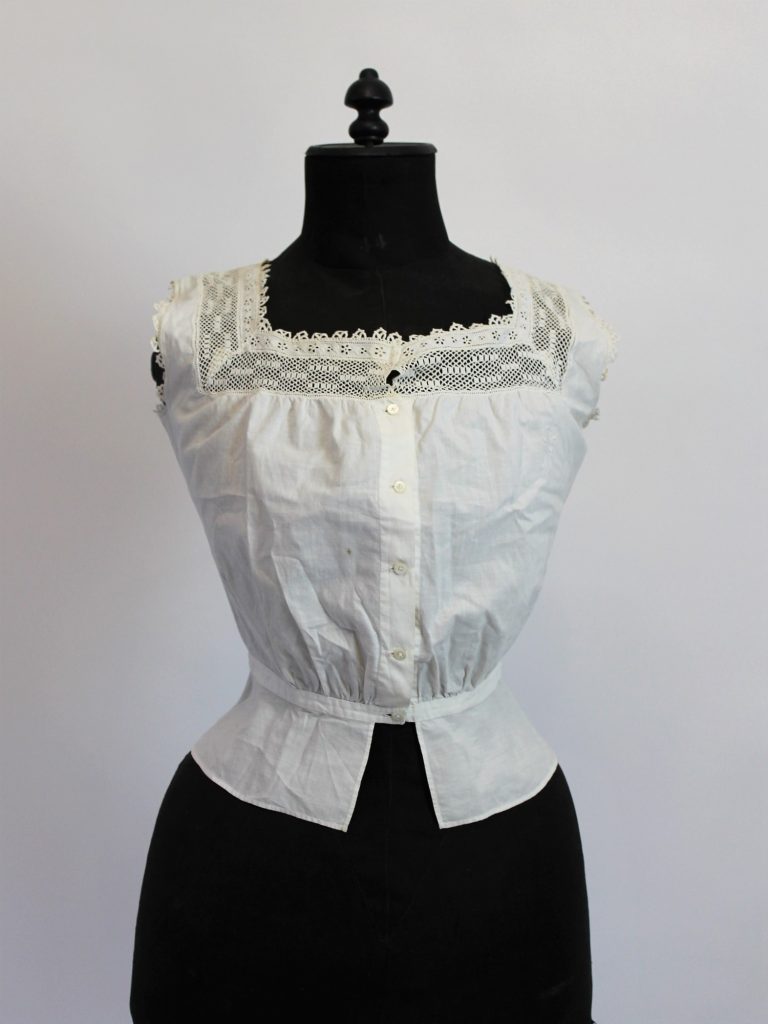
Gathering fabric is a sewing technique that creates even, controlled folds or ruffles by pulling on threads. This technique is frequently used in costume construction to add fullness to skirts, puff sleeves, ruffles, and yokes.
Why Gather Fabric?
Gathering can serve both functional and decorative purposes:
-
Add Fullness: Increases volume and shape in garments such as skirts and sleeves.
-
Decoration: Used for aesthetic features like ruffles, cuffs, and yokes.
-
Control Fullness: Helps manage excess fabric when attaching larger pieces to smaller ones.
Gathering Methods
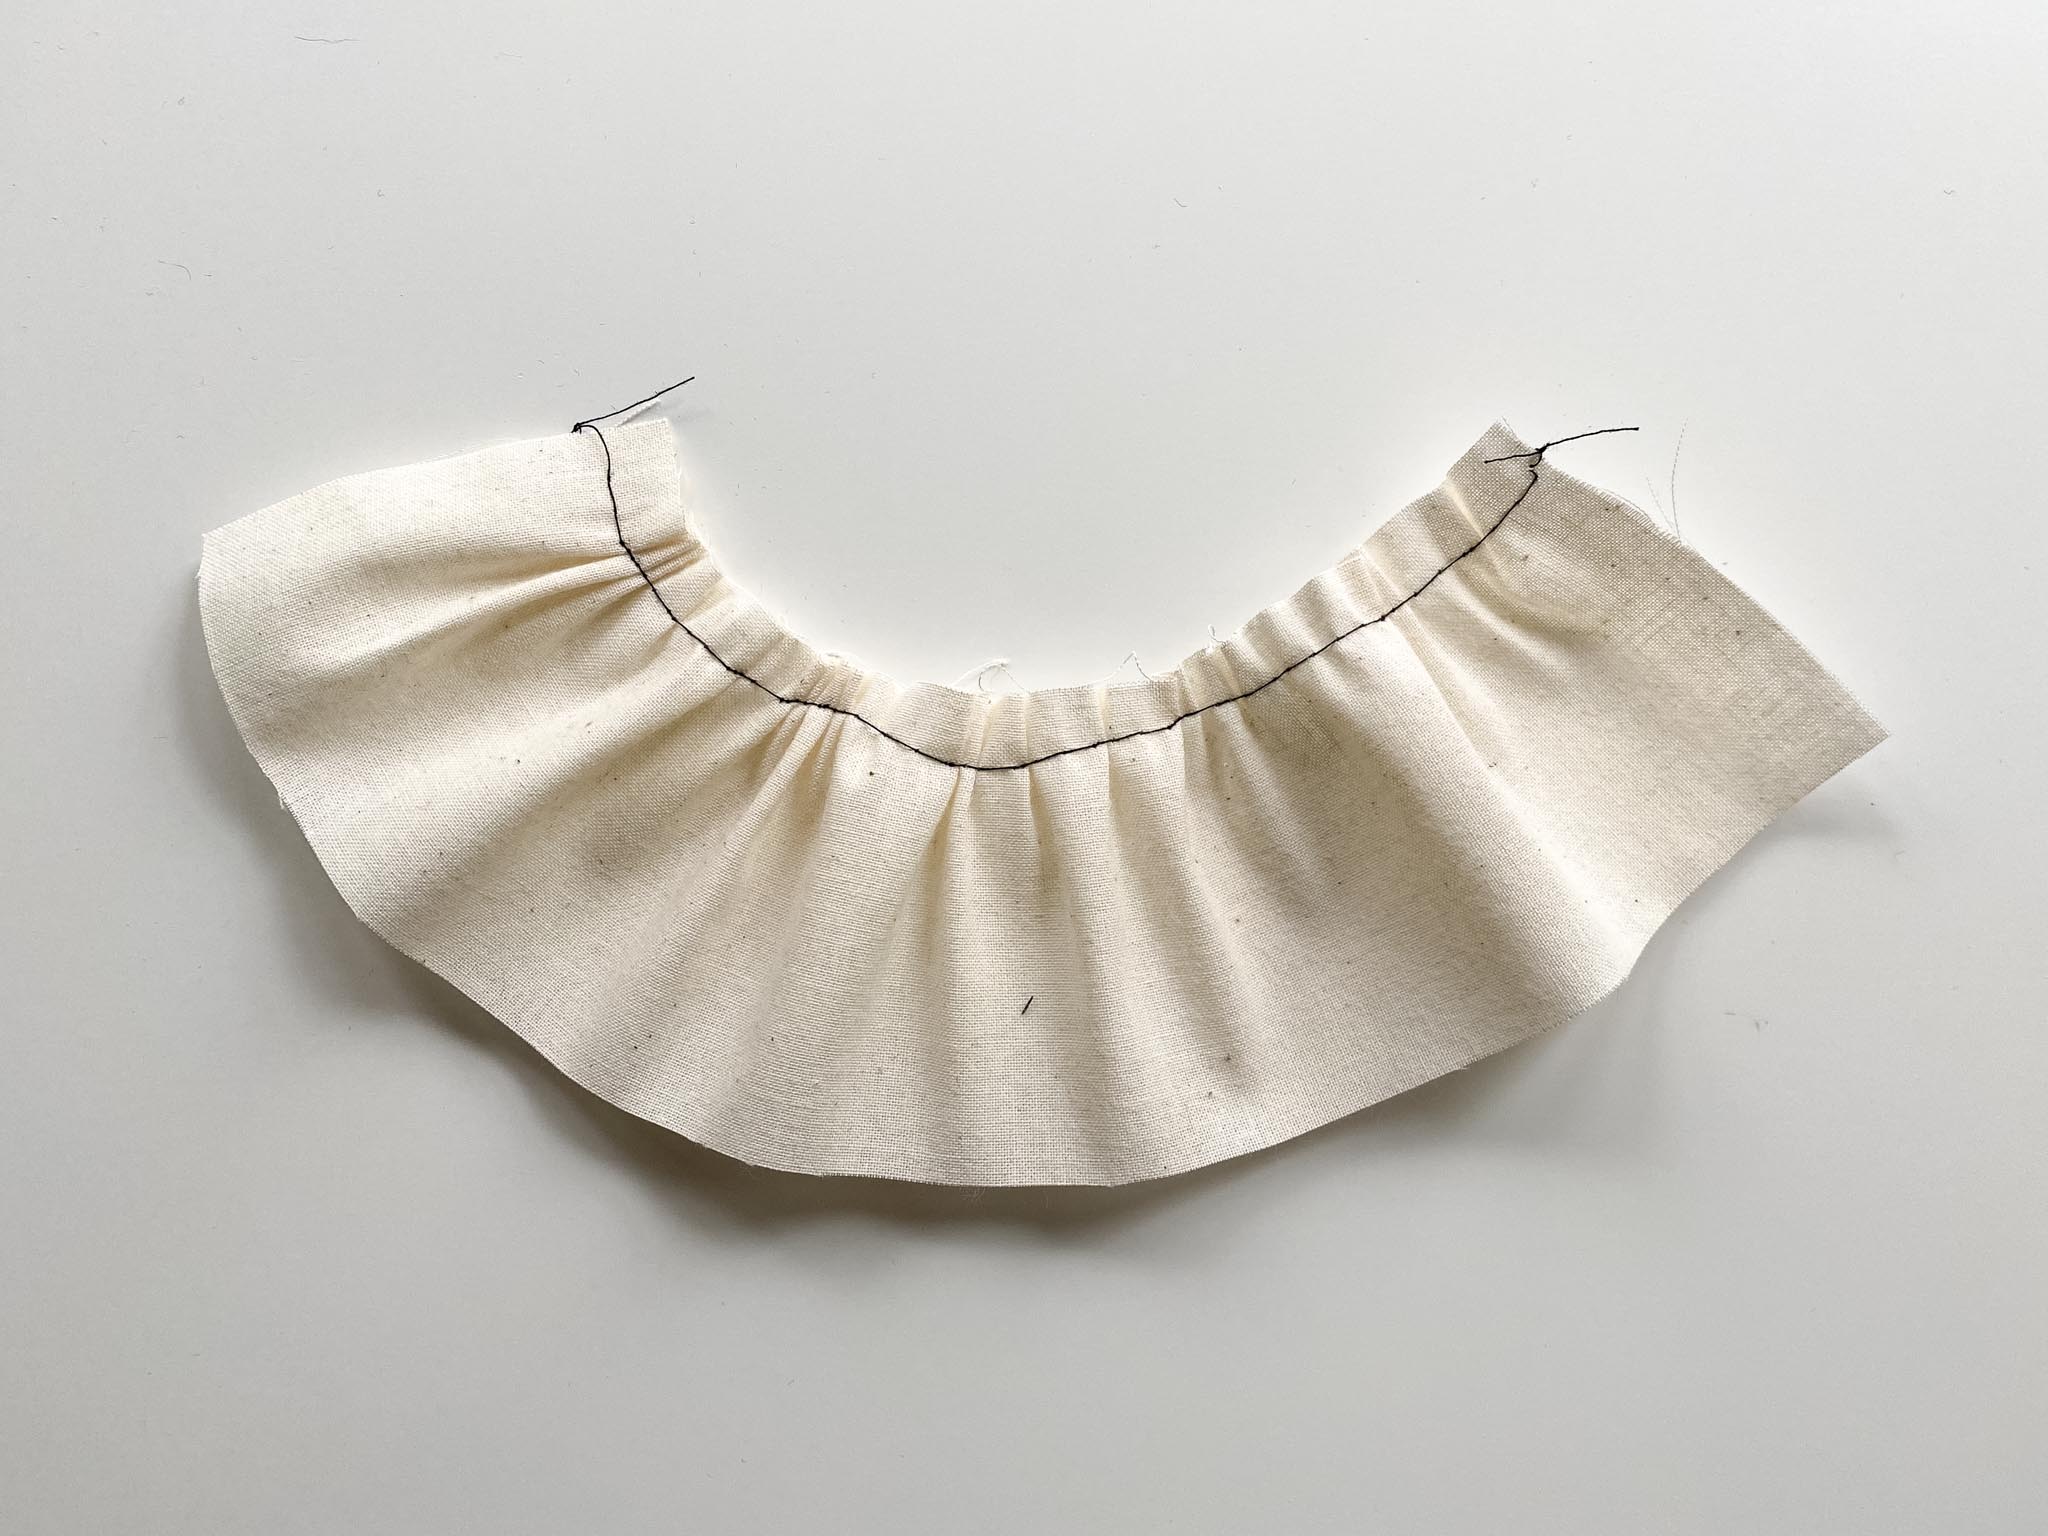
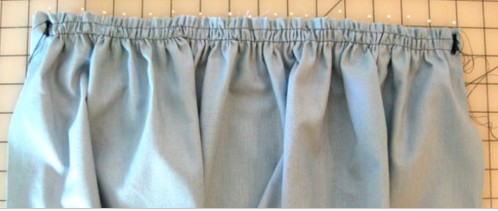
Parallel Lines
-
Sew two rows of long straight stitches (basting stitches) along the edge to be gathered, about ¼” apart. Leave long thread tails at both ends. Do not backstitch.
-
Gently pull on the bobbin threads while holding the top threads to gather the fabric.
-
Slide and adjust the fabric along the threads to distribute the gathers evenly.
-
Once gathers are positioned, secure thread tails with a knot or by wrapping around a pin.
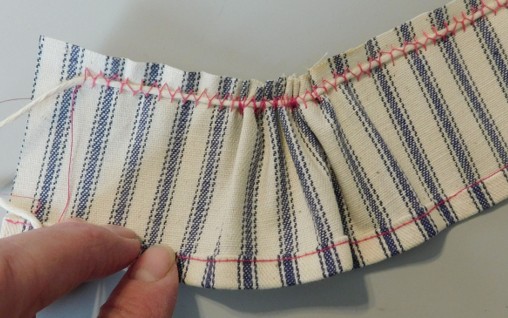
Zigzag over Thread
-
Lay a sturdy thread (e.g., Heavy Duty or Silamide) along the stitching line.
-
Set your machine to a wide zigzag (suggested width: 3, length: 3).
-
Using a buttonhole foot, zigzag over the thread without stitching through it. Do not backstitch.
-
Pull the heavy thread to gather the fabric.
-
Adjust gathers and secure as needed.
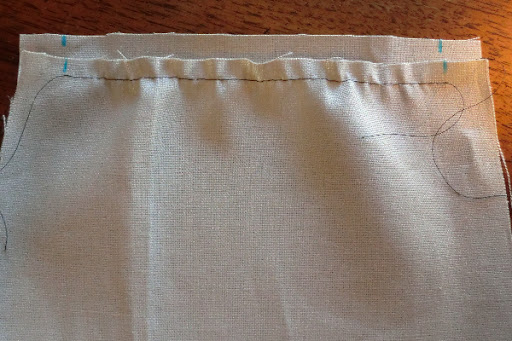
Gathering vs. Easing:
-
Gathering creates visible folds and is often decorative (e.g., ruffles, puffed sleeves).
-
Easing subtly distributes excess fabric into a smaller area without creating visible folds (e.g., easing a sleeve cap into an armhole).
 |
 |
🎥 Watch Demo: Learn three ways to gather fabric and see how to attach gathered fabric to a flat piece.
(Video includes: parallel lines, zigzag over thread, and easing techniques.)
Quick Reference: Gathering Techniques
| Technique | Use | Visual Effect | Thread Removal |
|---|---|---|---|
| Parallel Lines | Decorative or functional gathers | Visible ruffles | Remove basting |
| Zigzag over Thread | Heavier fabrics or longer gathers | Controlled, even gathers | Remove zigzag and heavy thread |
| Easing | Setting sleeves, subtle shaping | Smooth, no visible folds | Remove basting |
Assignment: Gathering
Supplies
Gathering Method 1: Parallel Lines
Supplies: 2 sampler pieces (8″ x 10″)
-
On one piece (the attachment piece), draw a 5″ line 2″ from the edge. Mark the center.
-
On the other piece (the gathered piece), draw a 10″ line 1″ from the edge. Mark the center.
-
Set your machine to the longest possible stitch length. Do not backstitch.
-
Sew two parallel rows of stitching on the gathered piece — one just above and one just below the marked line, about ¼” apart. Leave long thread tails.
-
Secure the threads on one end only.
-
With right sides together, match the ends and center points of the two pieces. Pin at these points.
-
Pull the bobbin threads to gather the longer piece so it fits the shorter piece. Adjust and pin gathers evenly.
-
Reset stitch length to 3.
-
Stitch directly along the marked line. Backstitch at the beginning and end.
-
Carefully remove the gathering stitches.
Gathering Method 2: Zigzag Over Heavy-Duty Thread
Supplies: 2 sampler pieces (8″ x 10″)
-
On one piece (the attachment piece), draw a 5″ line 2″ from the edge. Mark the center.
-
On the other piece (the gathered piece), draw a 10″ line 1″ from the edge. Mark the center.
-
Set your machine to a zigzag stitch — width 3, length 3.
-
Using a buttonhole foot, lay a piece of heavy-duty thread or Silamide along the marked line on the gathered piece.
-
Zigzag over the heavy thread without catching it in the stitching. Leave long tails at each end. Do not backstitch.
-
With right sides together, match and pin the ends and centers of the two pieces.
-
Pull the heavy thread to gather the longer piece to fit the shorter piece. Distribute gathers evenly.
-
Reset stitch length to 3.
-
Stitch directly along the marked line. Backstitch at the beginning and end.
-
Remove the zigzag stitching and heavy-duty thread.
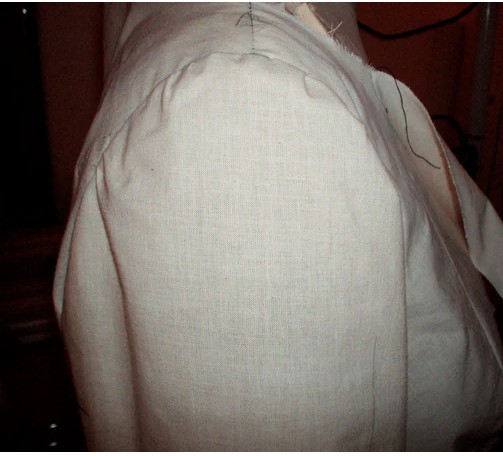
Easing (Smooth Gathered Join)
Supplies: 2 sampler pieces (8″ x 10″)
-
On one piece (the attachment piece), draw a 5″ line 1″ from the edge. Mark the center.
-
On the second piece (the easing piece), draw a 5½” line 1″ from the edge. Mark the center.
-
Use the parallel lines gathering method to sew two rows of long basting stitches along the easing line. Leave long thread tails.
-
Pull threads gently to slightly gather the easing piece so it matches the 5″ attachment line.
-
With right sides together, pin the two pieces, matching ends and centers. Distribute any excess fabric smoothly — no visible folds should remain.
-
Stitch directly along the easing line. Backstitch at the beginning and end.
-
Remove basting threads.
